EASY Stuffed Shark Toy Tutorial AND Pattern
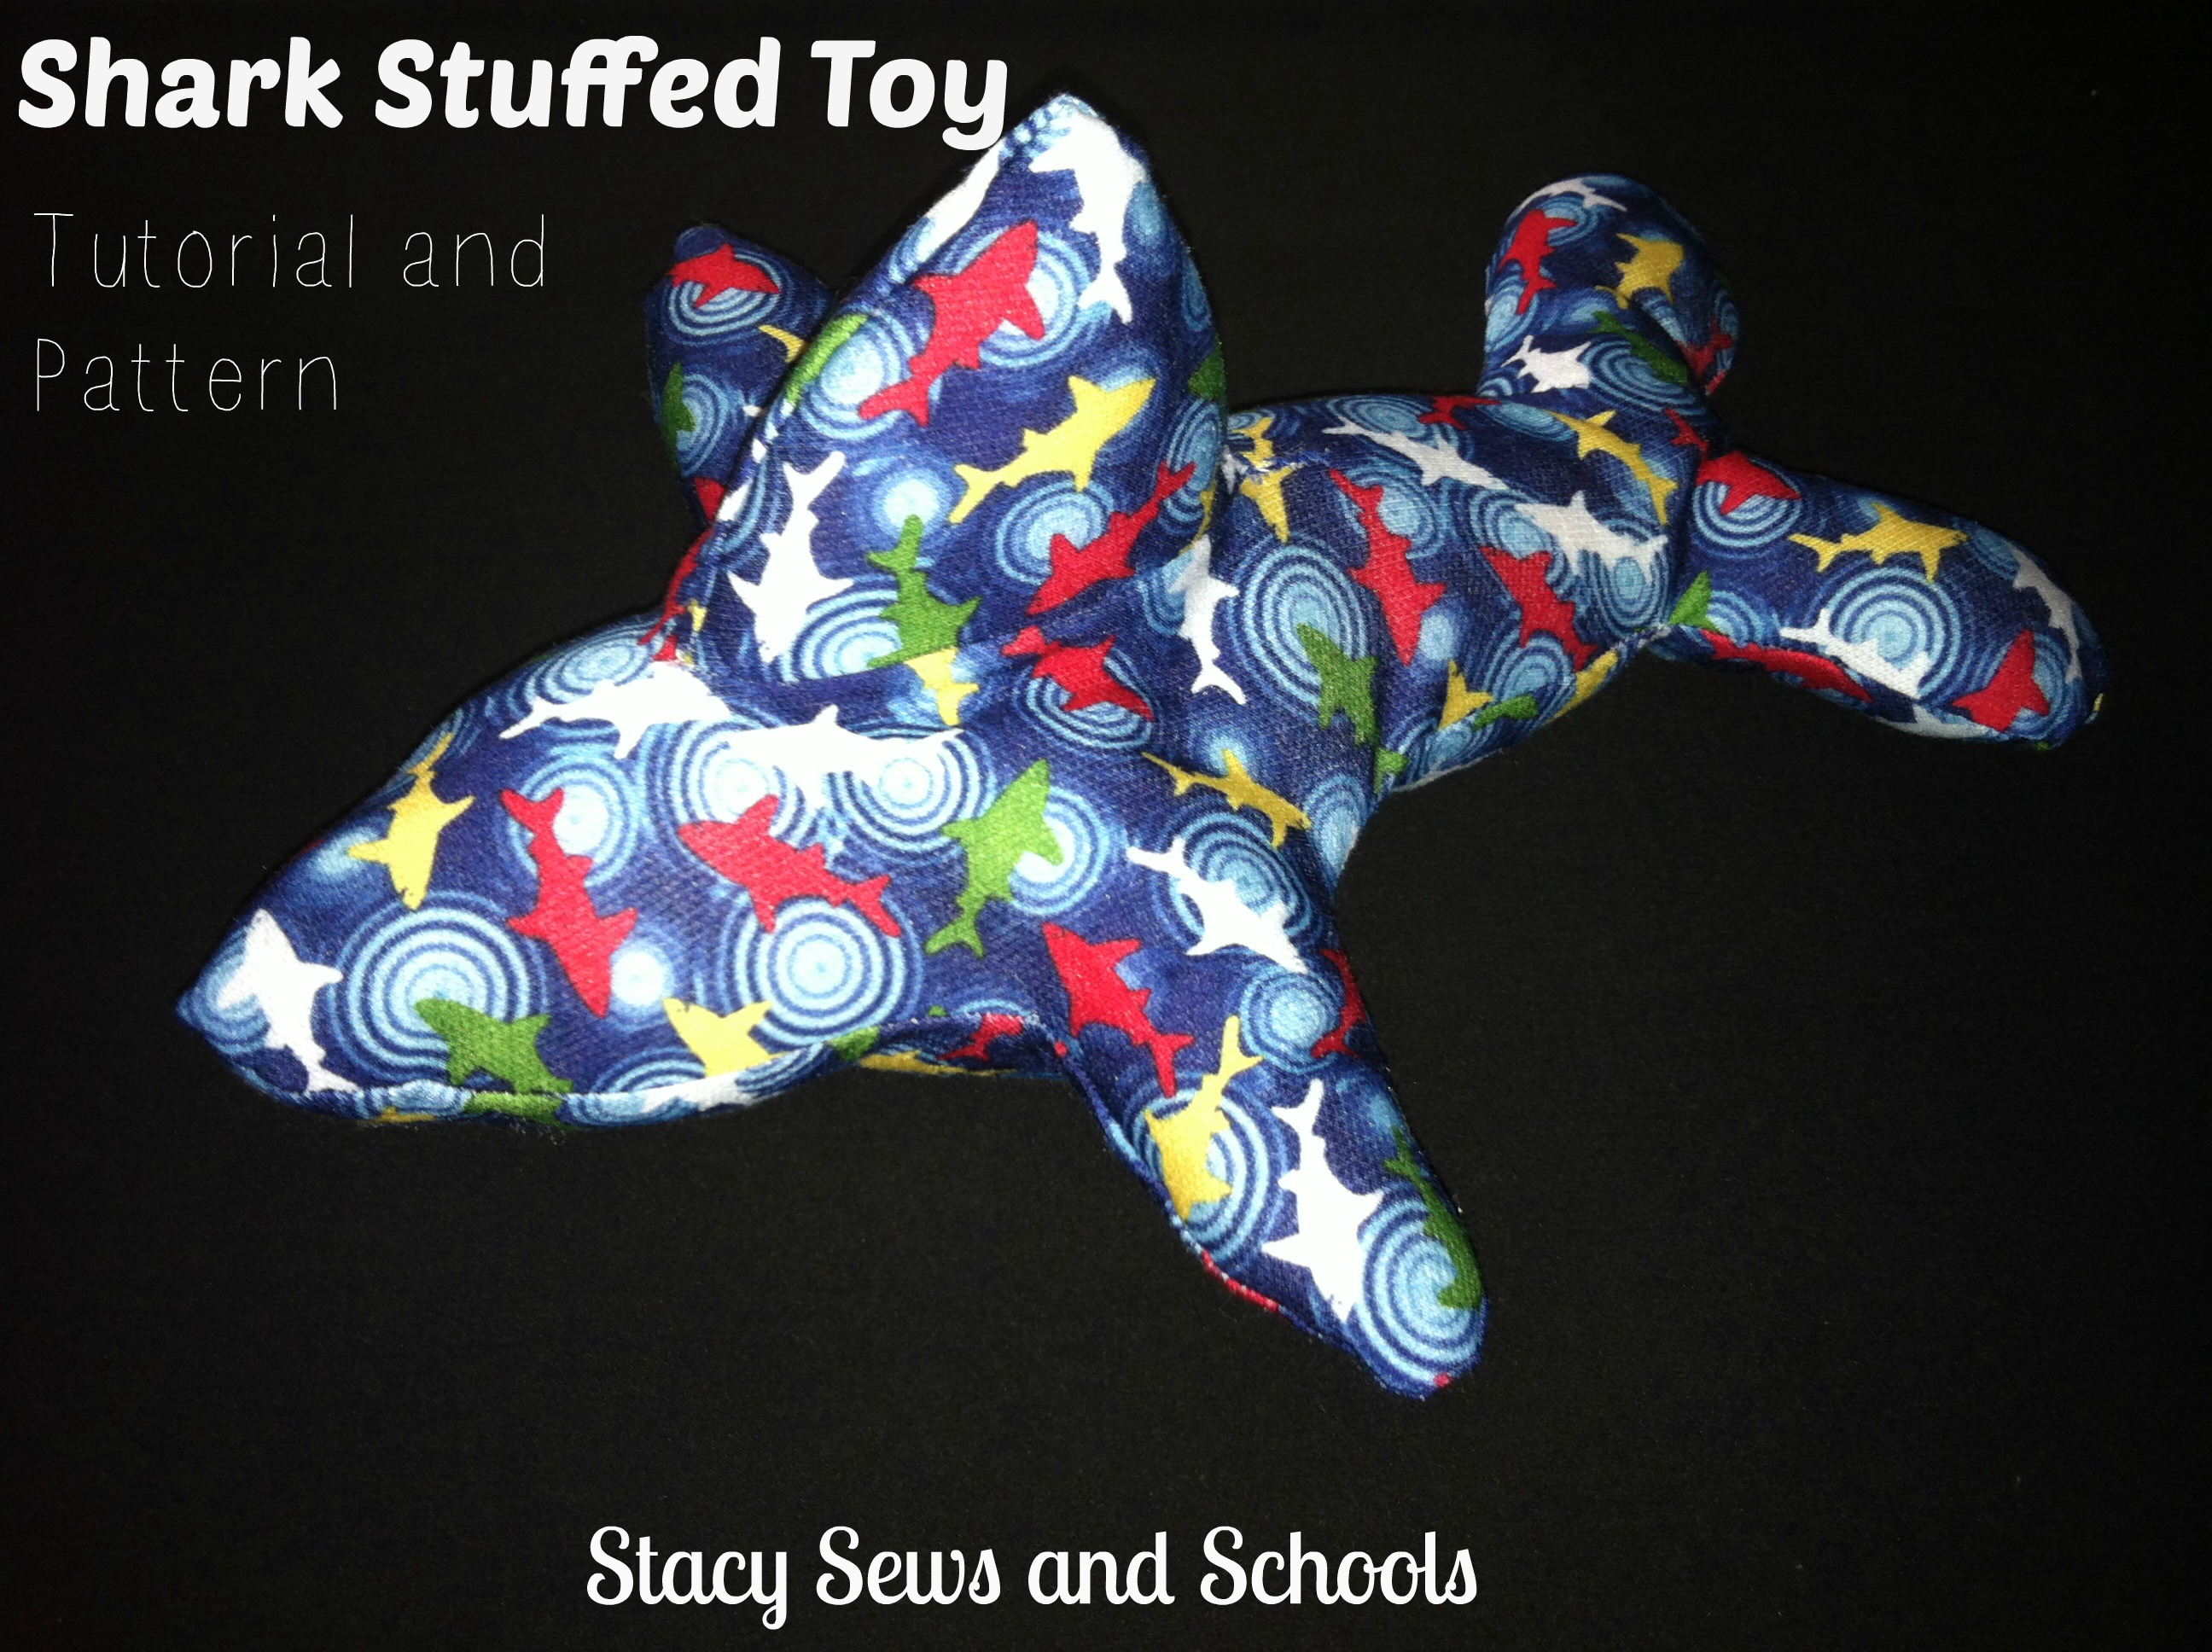
I wanted to make a stuffed shark out of that cute shark knit for Sewing to Rebuild, BUT I was a little intimidated by the free patterns I found. SOOO many pieces!! They all looked very complicated. Seeing as how I am so new to sewing stuffed toys, I thought I would try my hand at making my own pattern and that is what I came up with. Only 4 pieces total and very simple. Easy peasy!! 😉
Click Shark Stuffed Toy Pattern 1 and Shark Stuffed Toy Pattern 2 for the pattern!! (Hopefully the PDF will pop up like it’s supposed to…)
After you print, cut and tape your pattern these will be the steps to sewing.
STEP 1

Cut your pieces. This is what they will look like.
STEP 2
Sew your fin together, right sides together, leaving the bottom open.
STEP 3
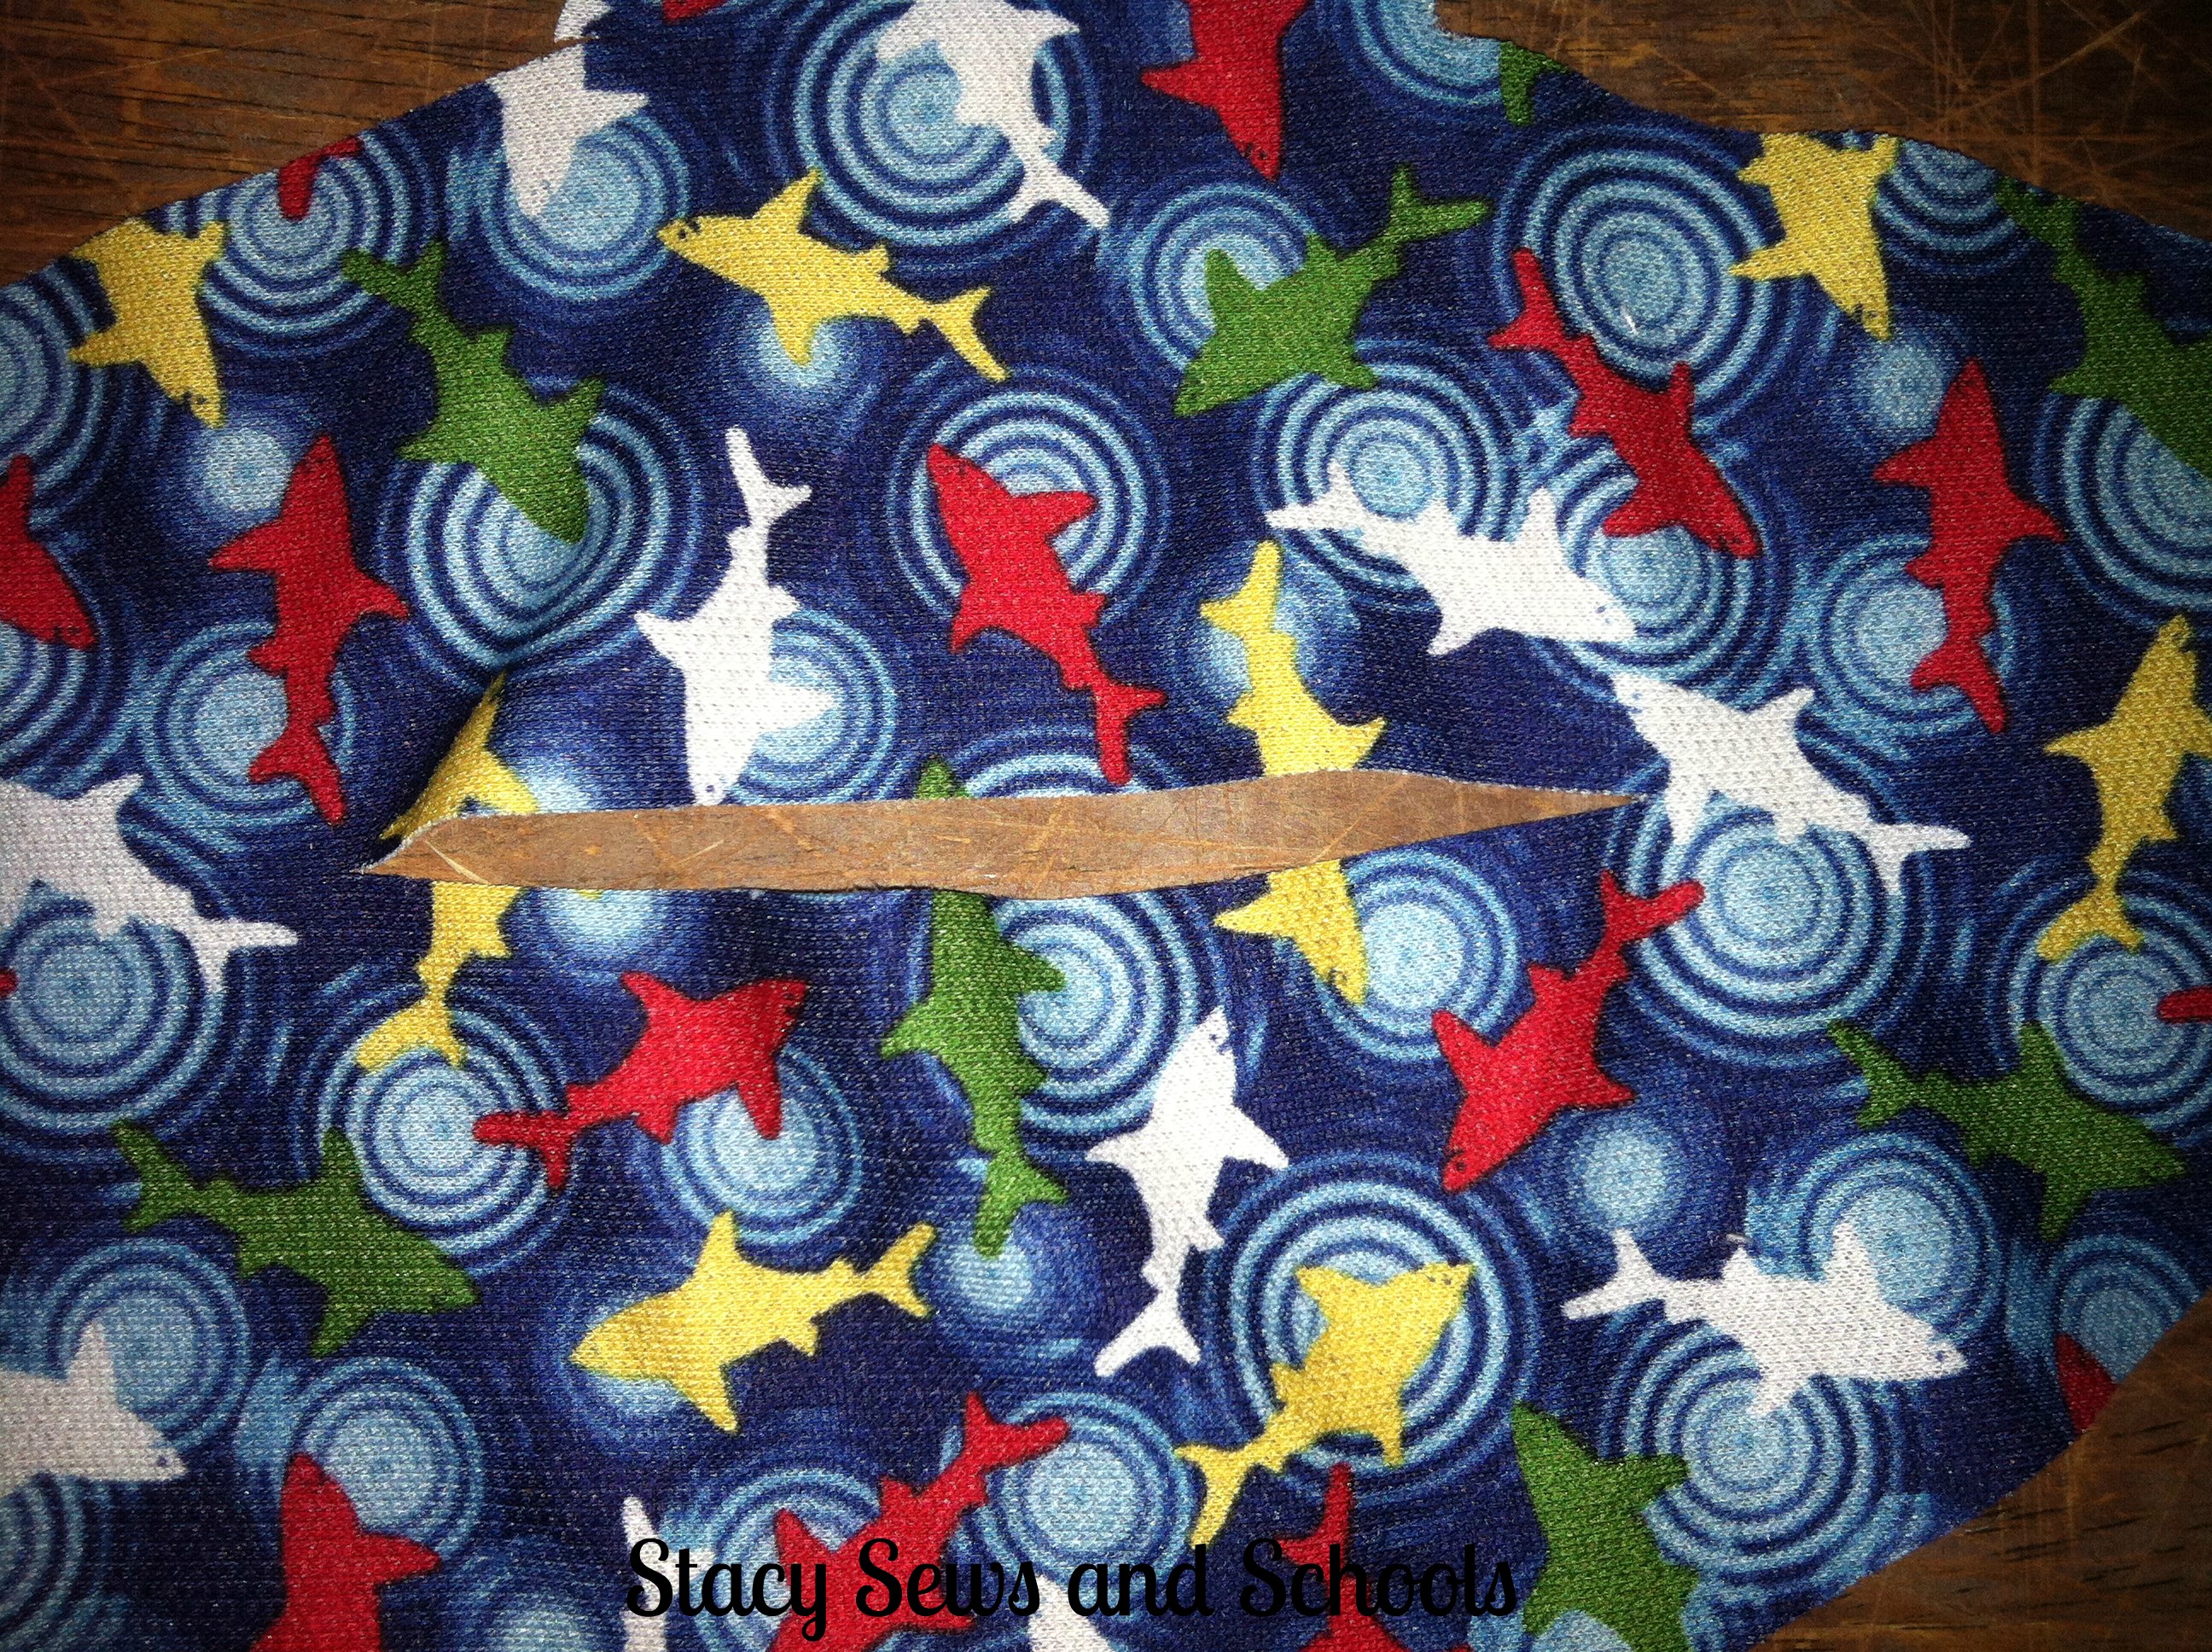
Cut the slit for your fin.
STEP 4
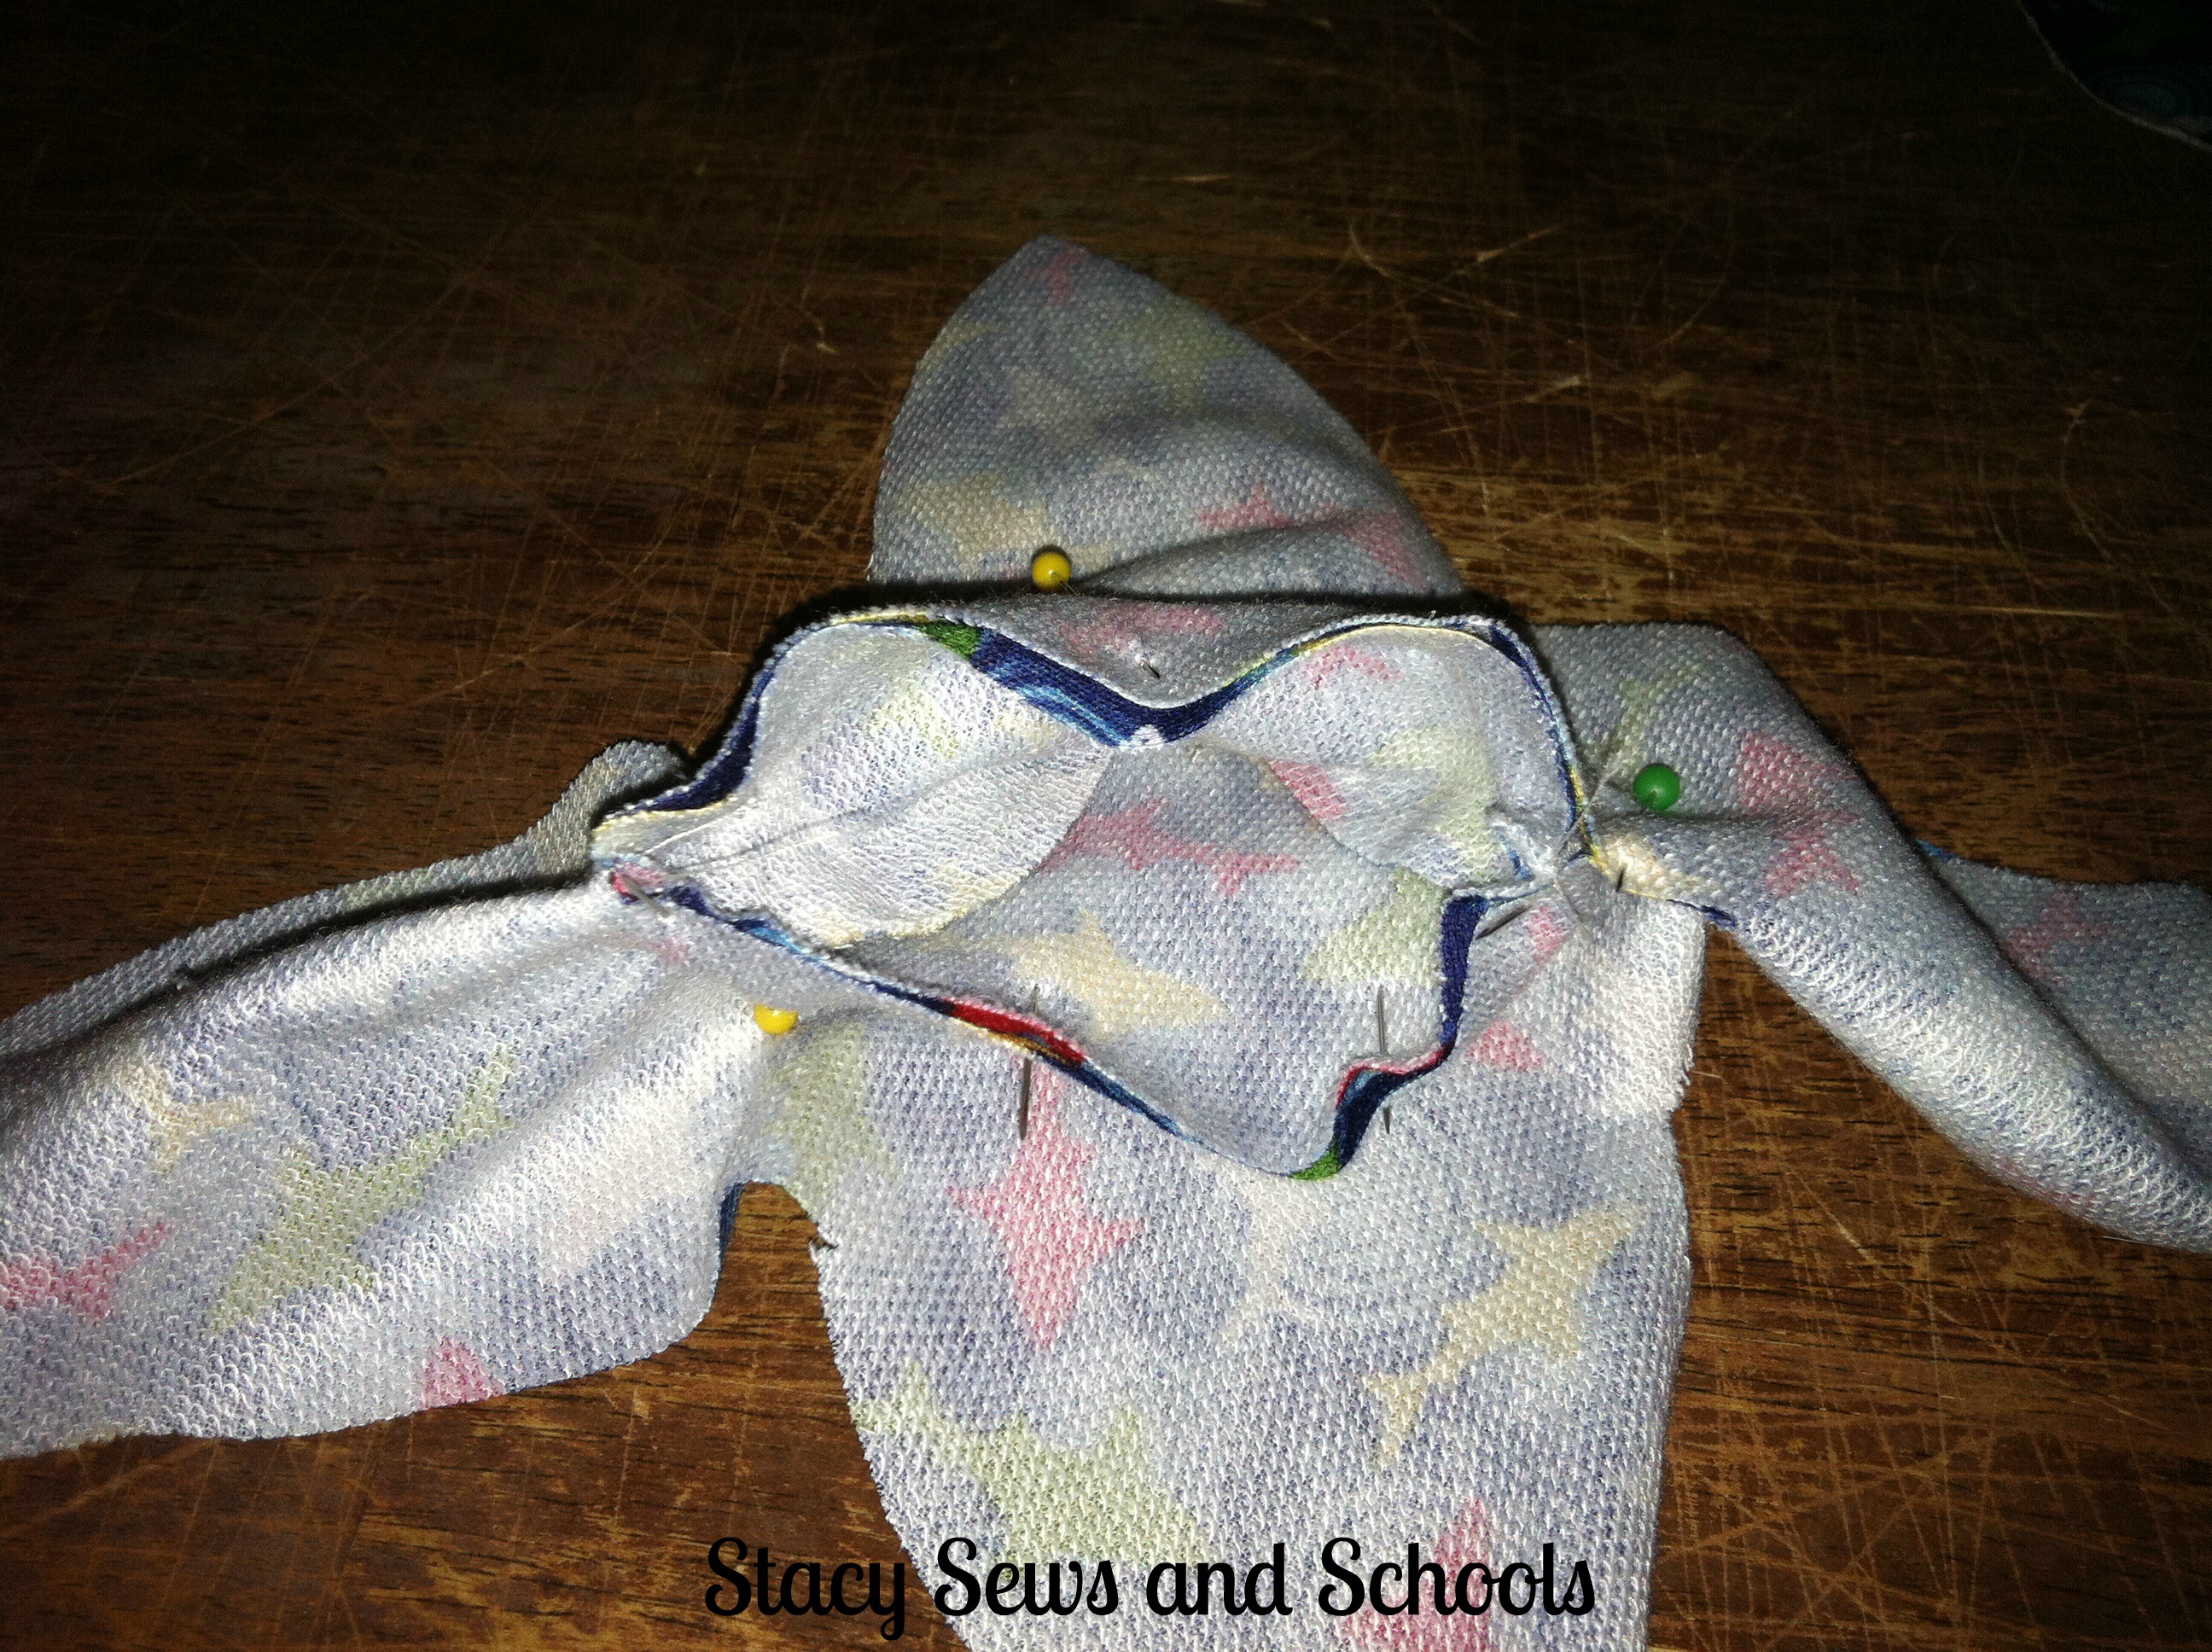
Turn the fin right side out. Insert it into the slit in the top of the shark body. Pin it in place and very slowly sew the bottom of the fin to the sides of the slit in the shark. The fin will be open for the stuffing.
You COULD stuff the fin and then sew it into the slit. Whichever is easier for you to do.
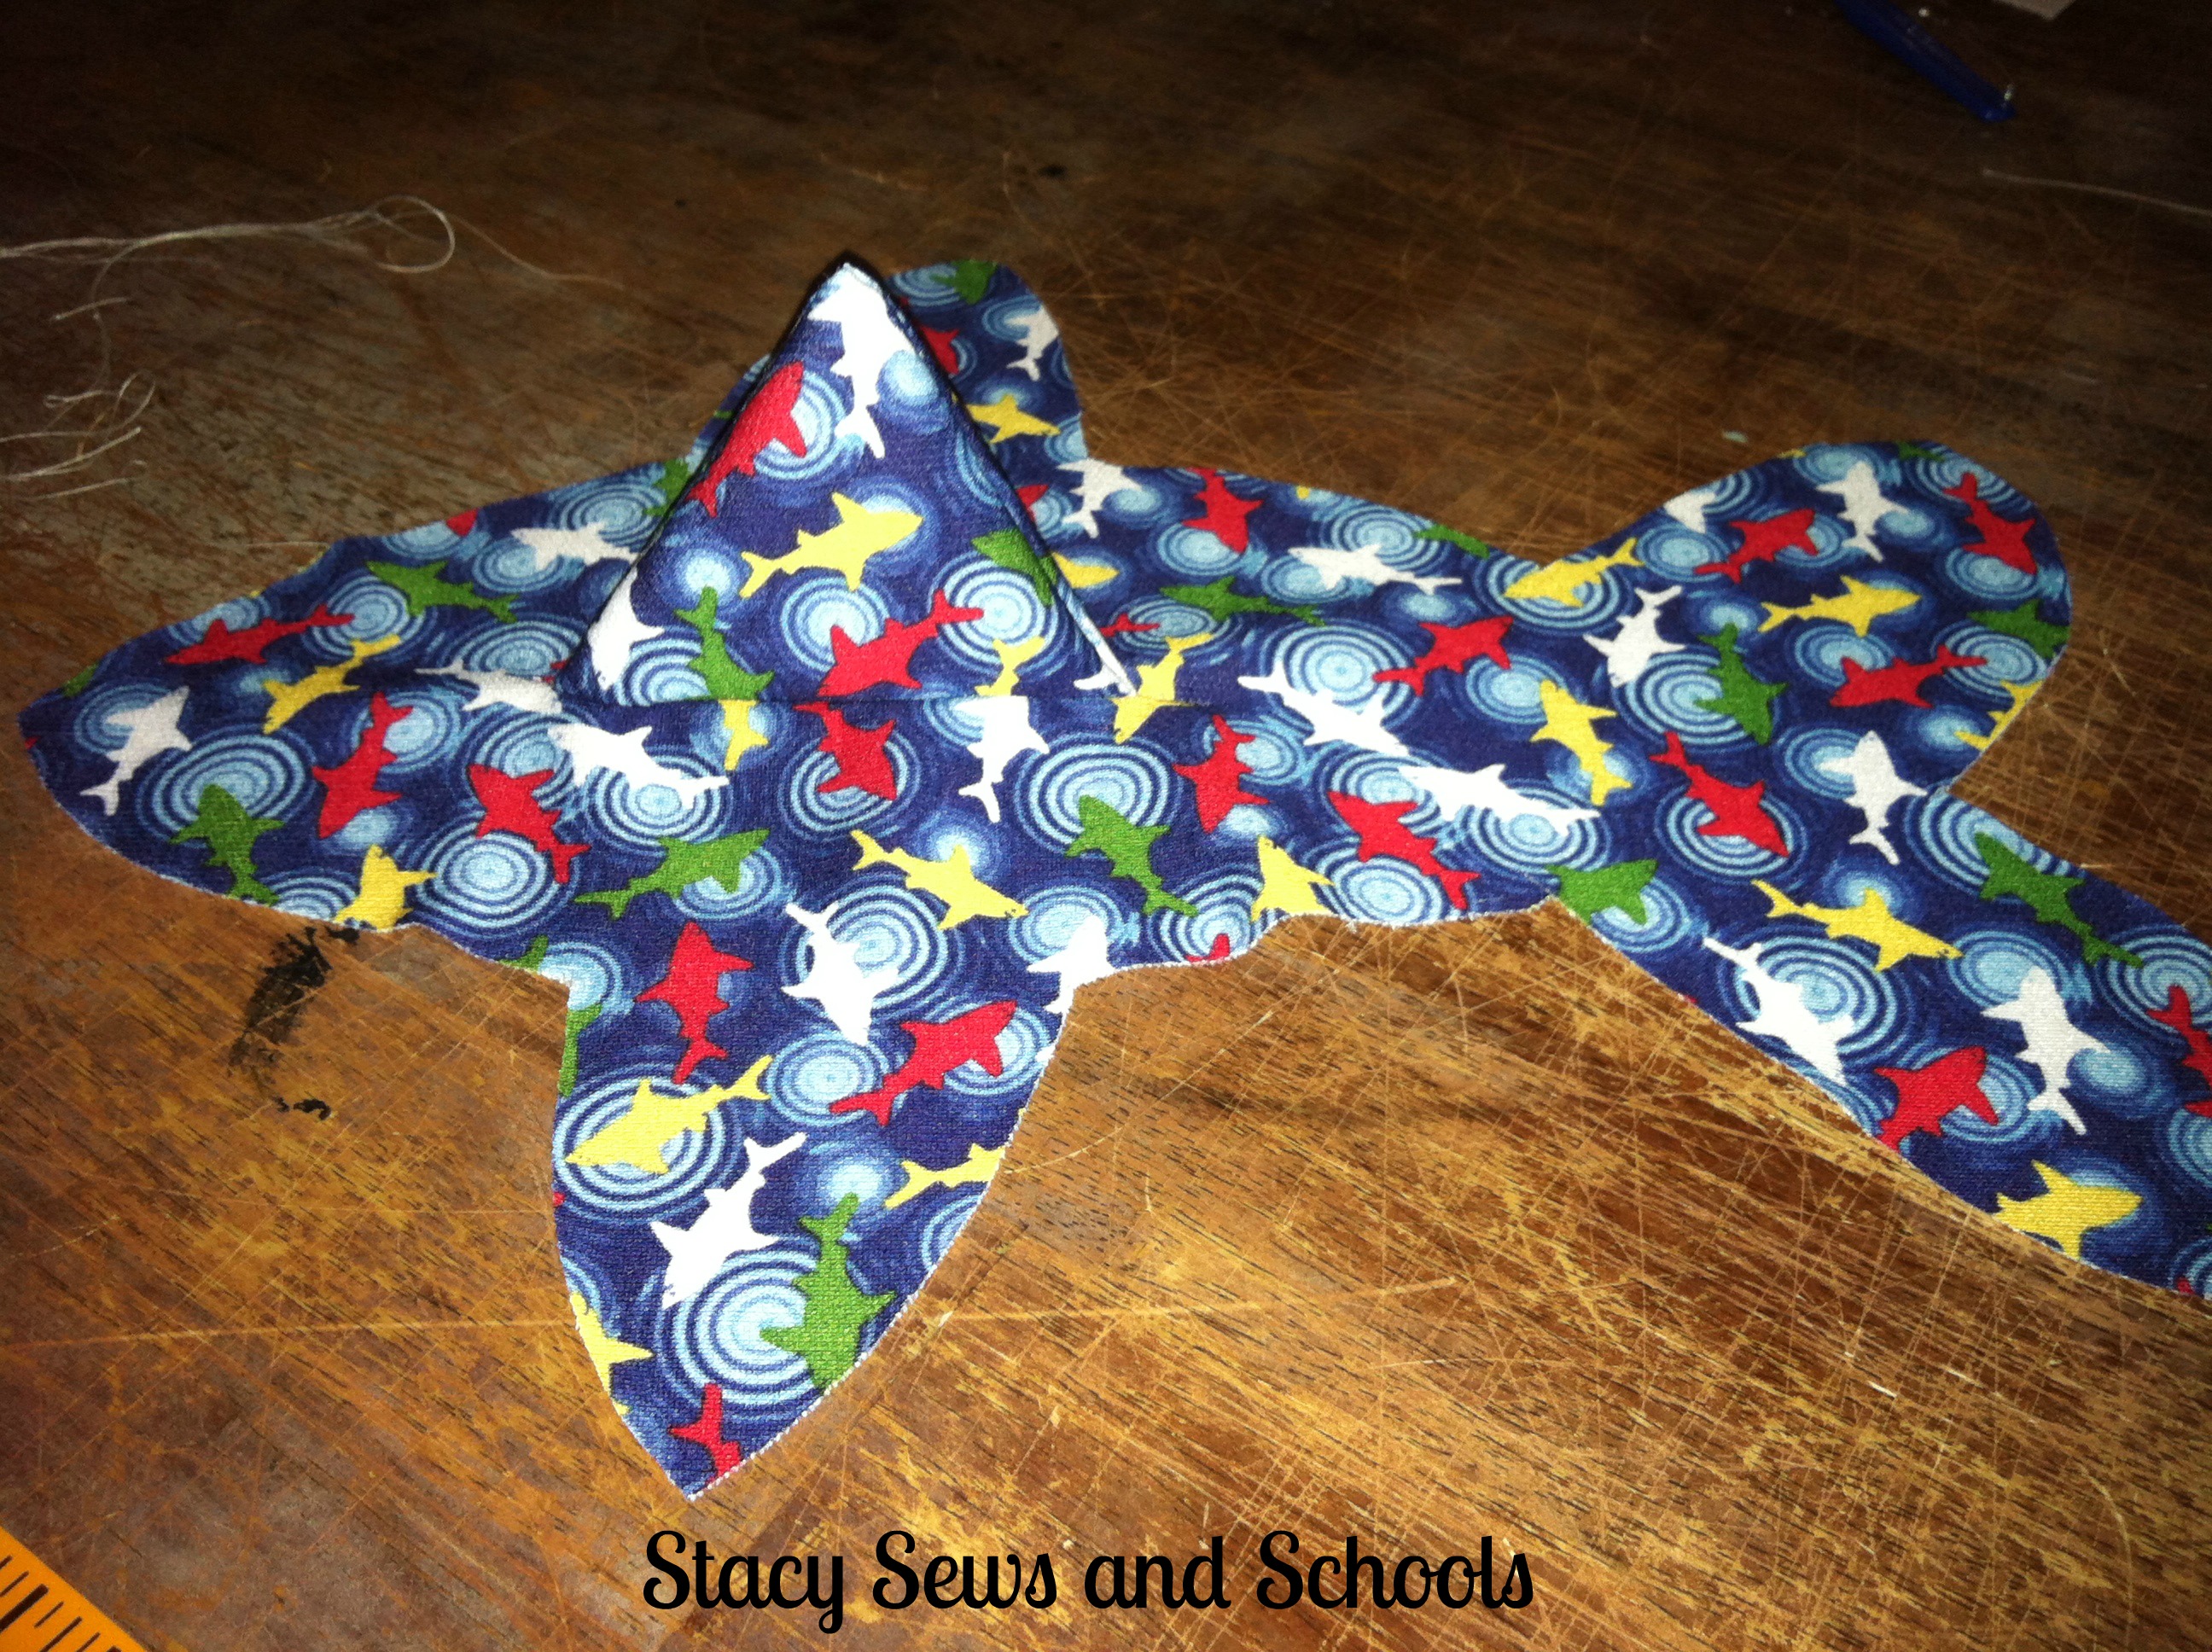
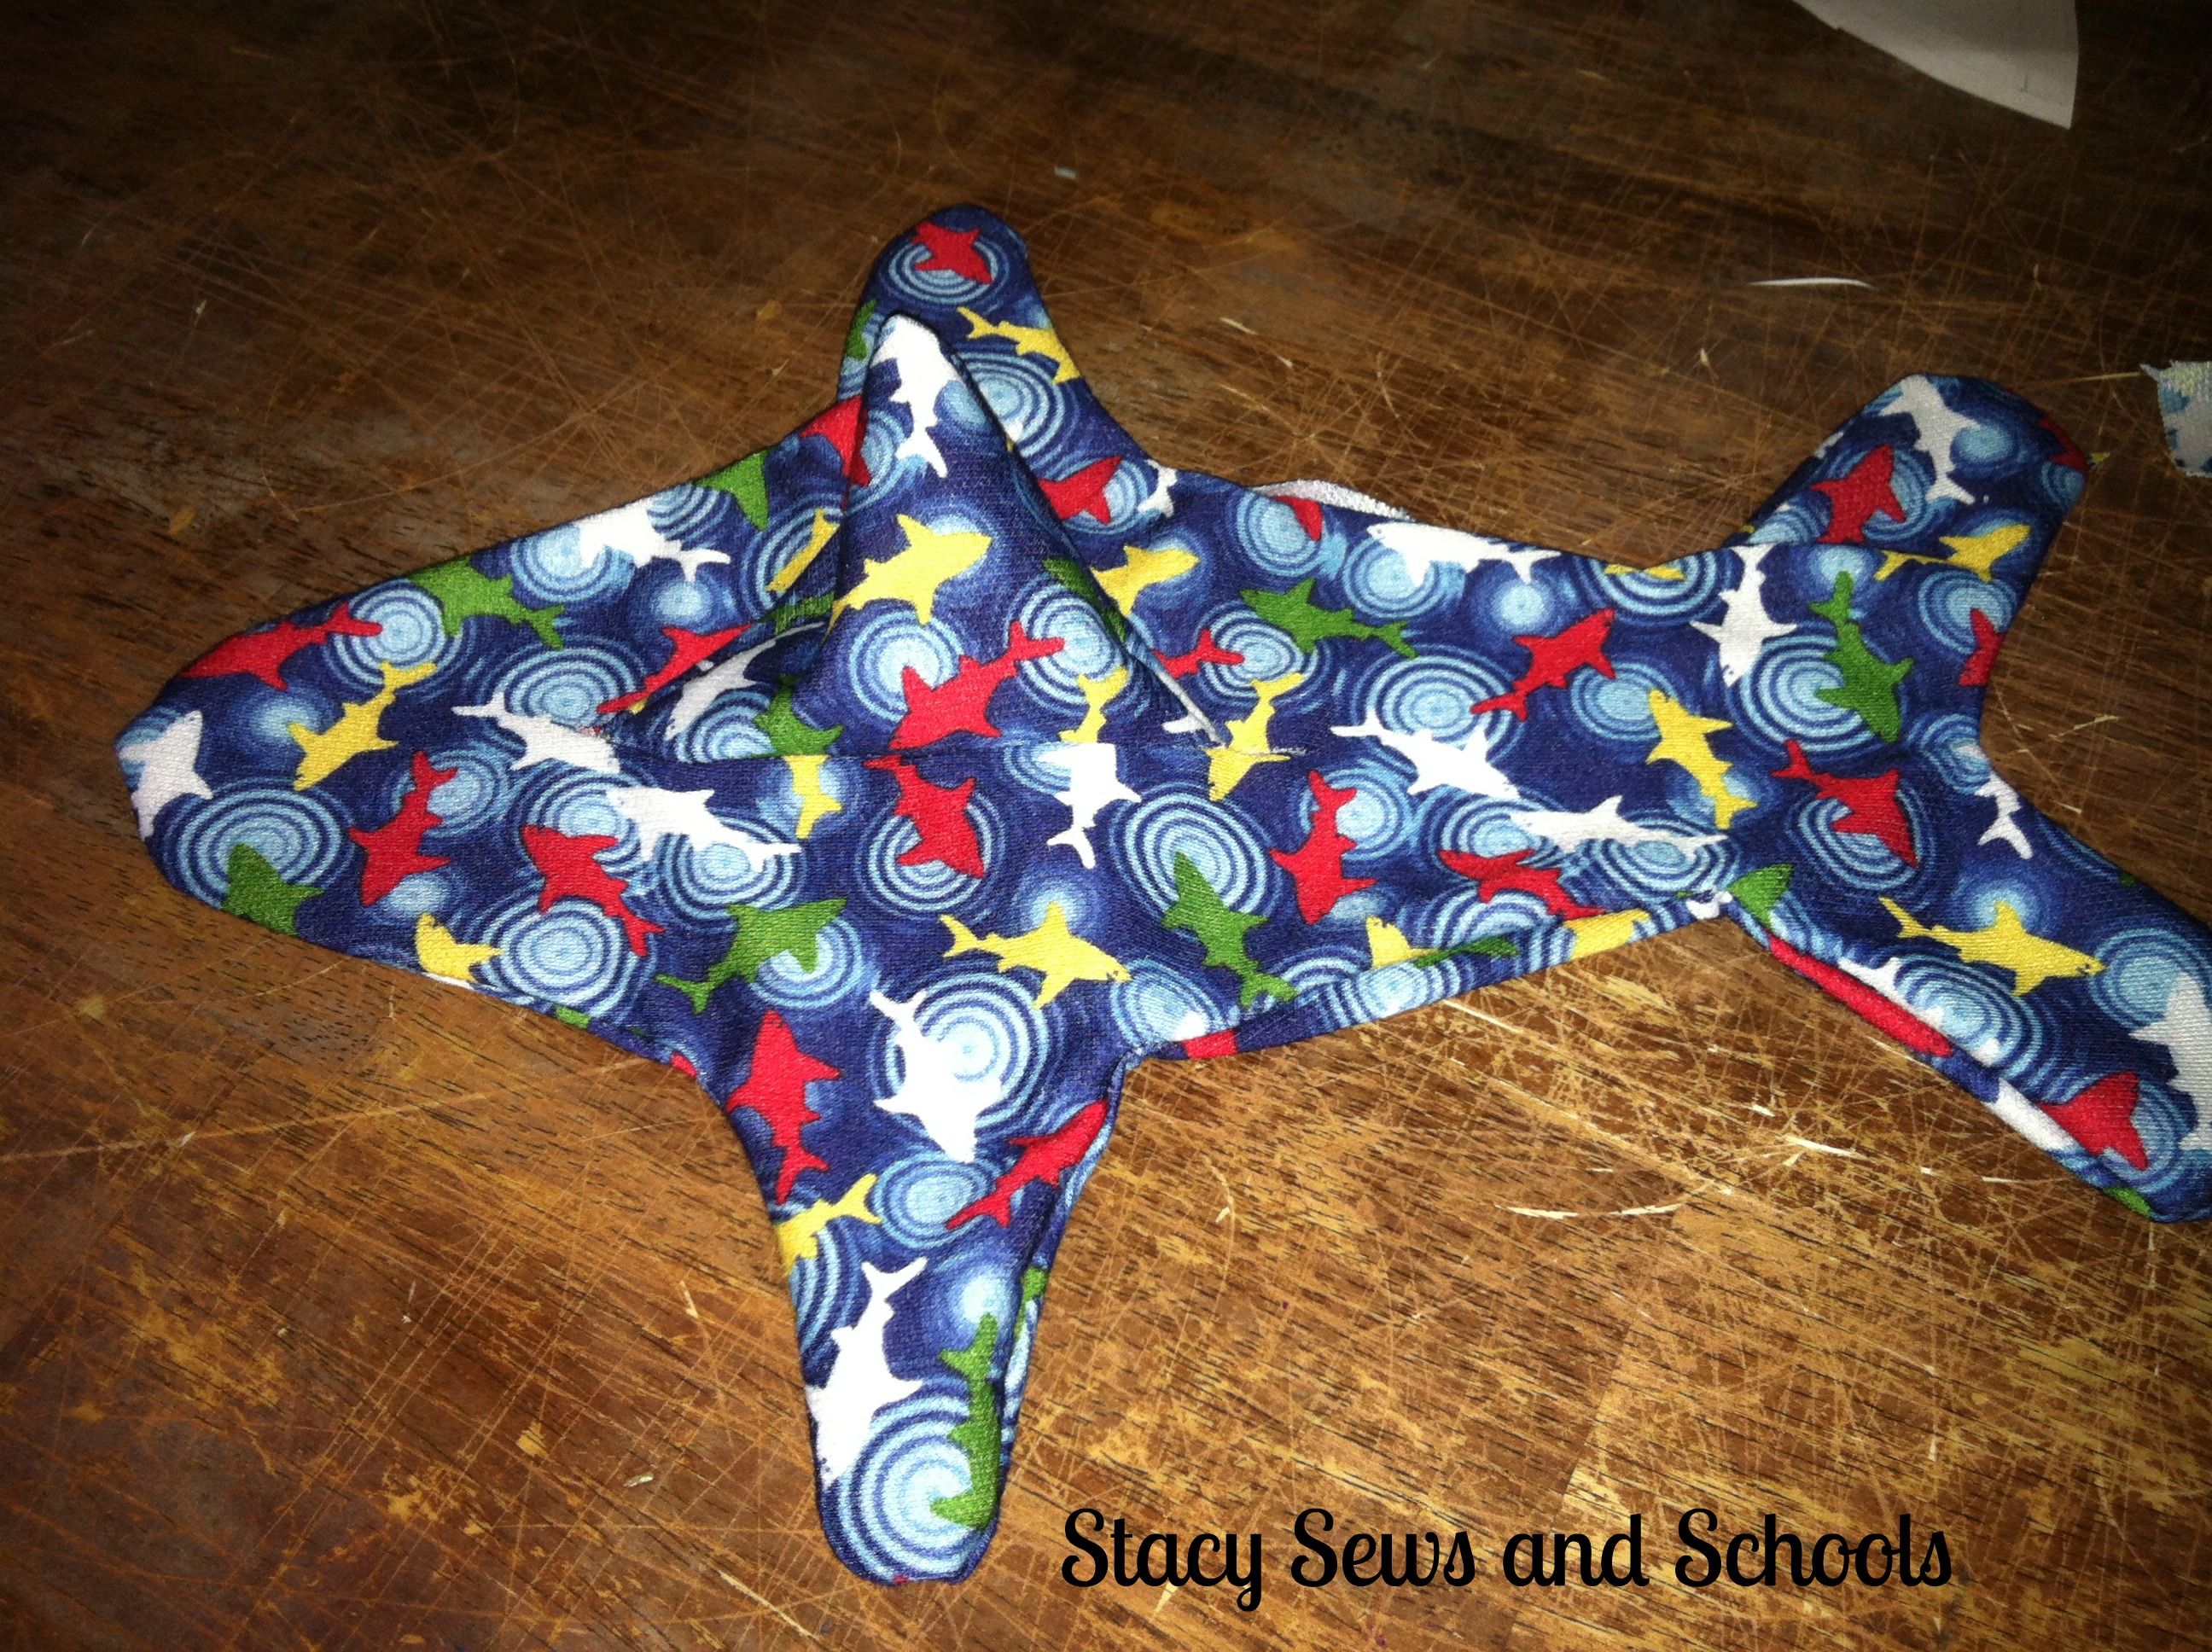
This is what it will look like when you are done.
STEP 6

Pin the fin out of the way. Now, pin the shark body pieces with right sides together. Sew the pieces, making sure to leave an opening for the stuffing.
STEP 7
Turn it right side out, stuff and sew the opening closed!! 🙂
Now you are all done!! YAY!!!!!!!!!!!!!!!!!

Let me know what you think!! Are the steps easy to follow??