Fox Trot Tutorial Part 1
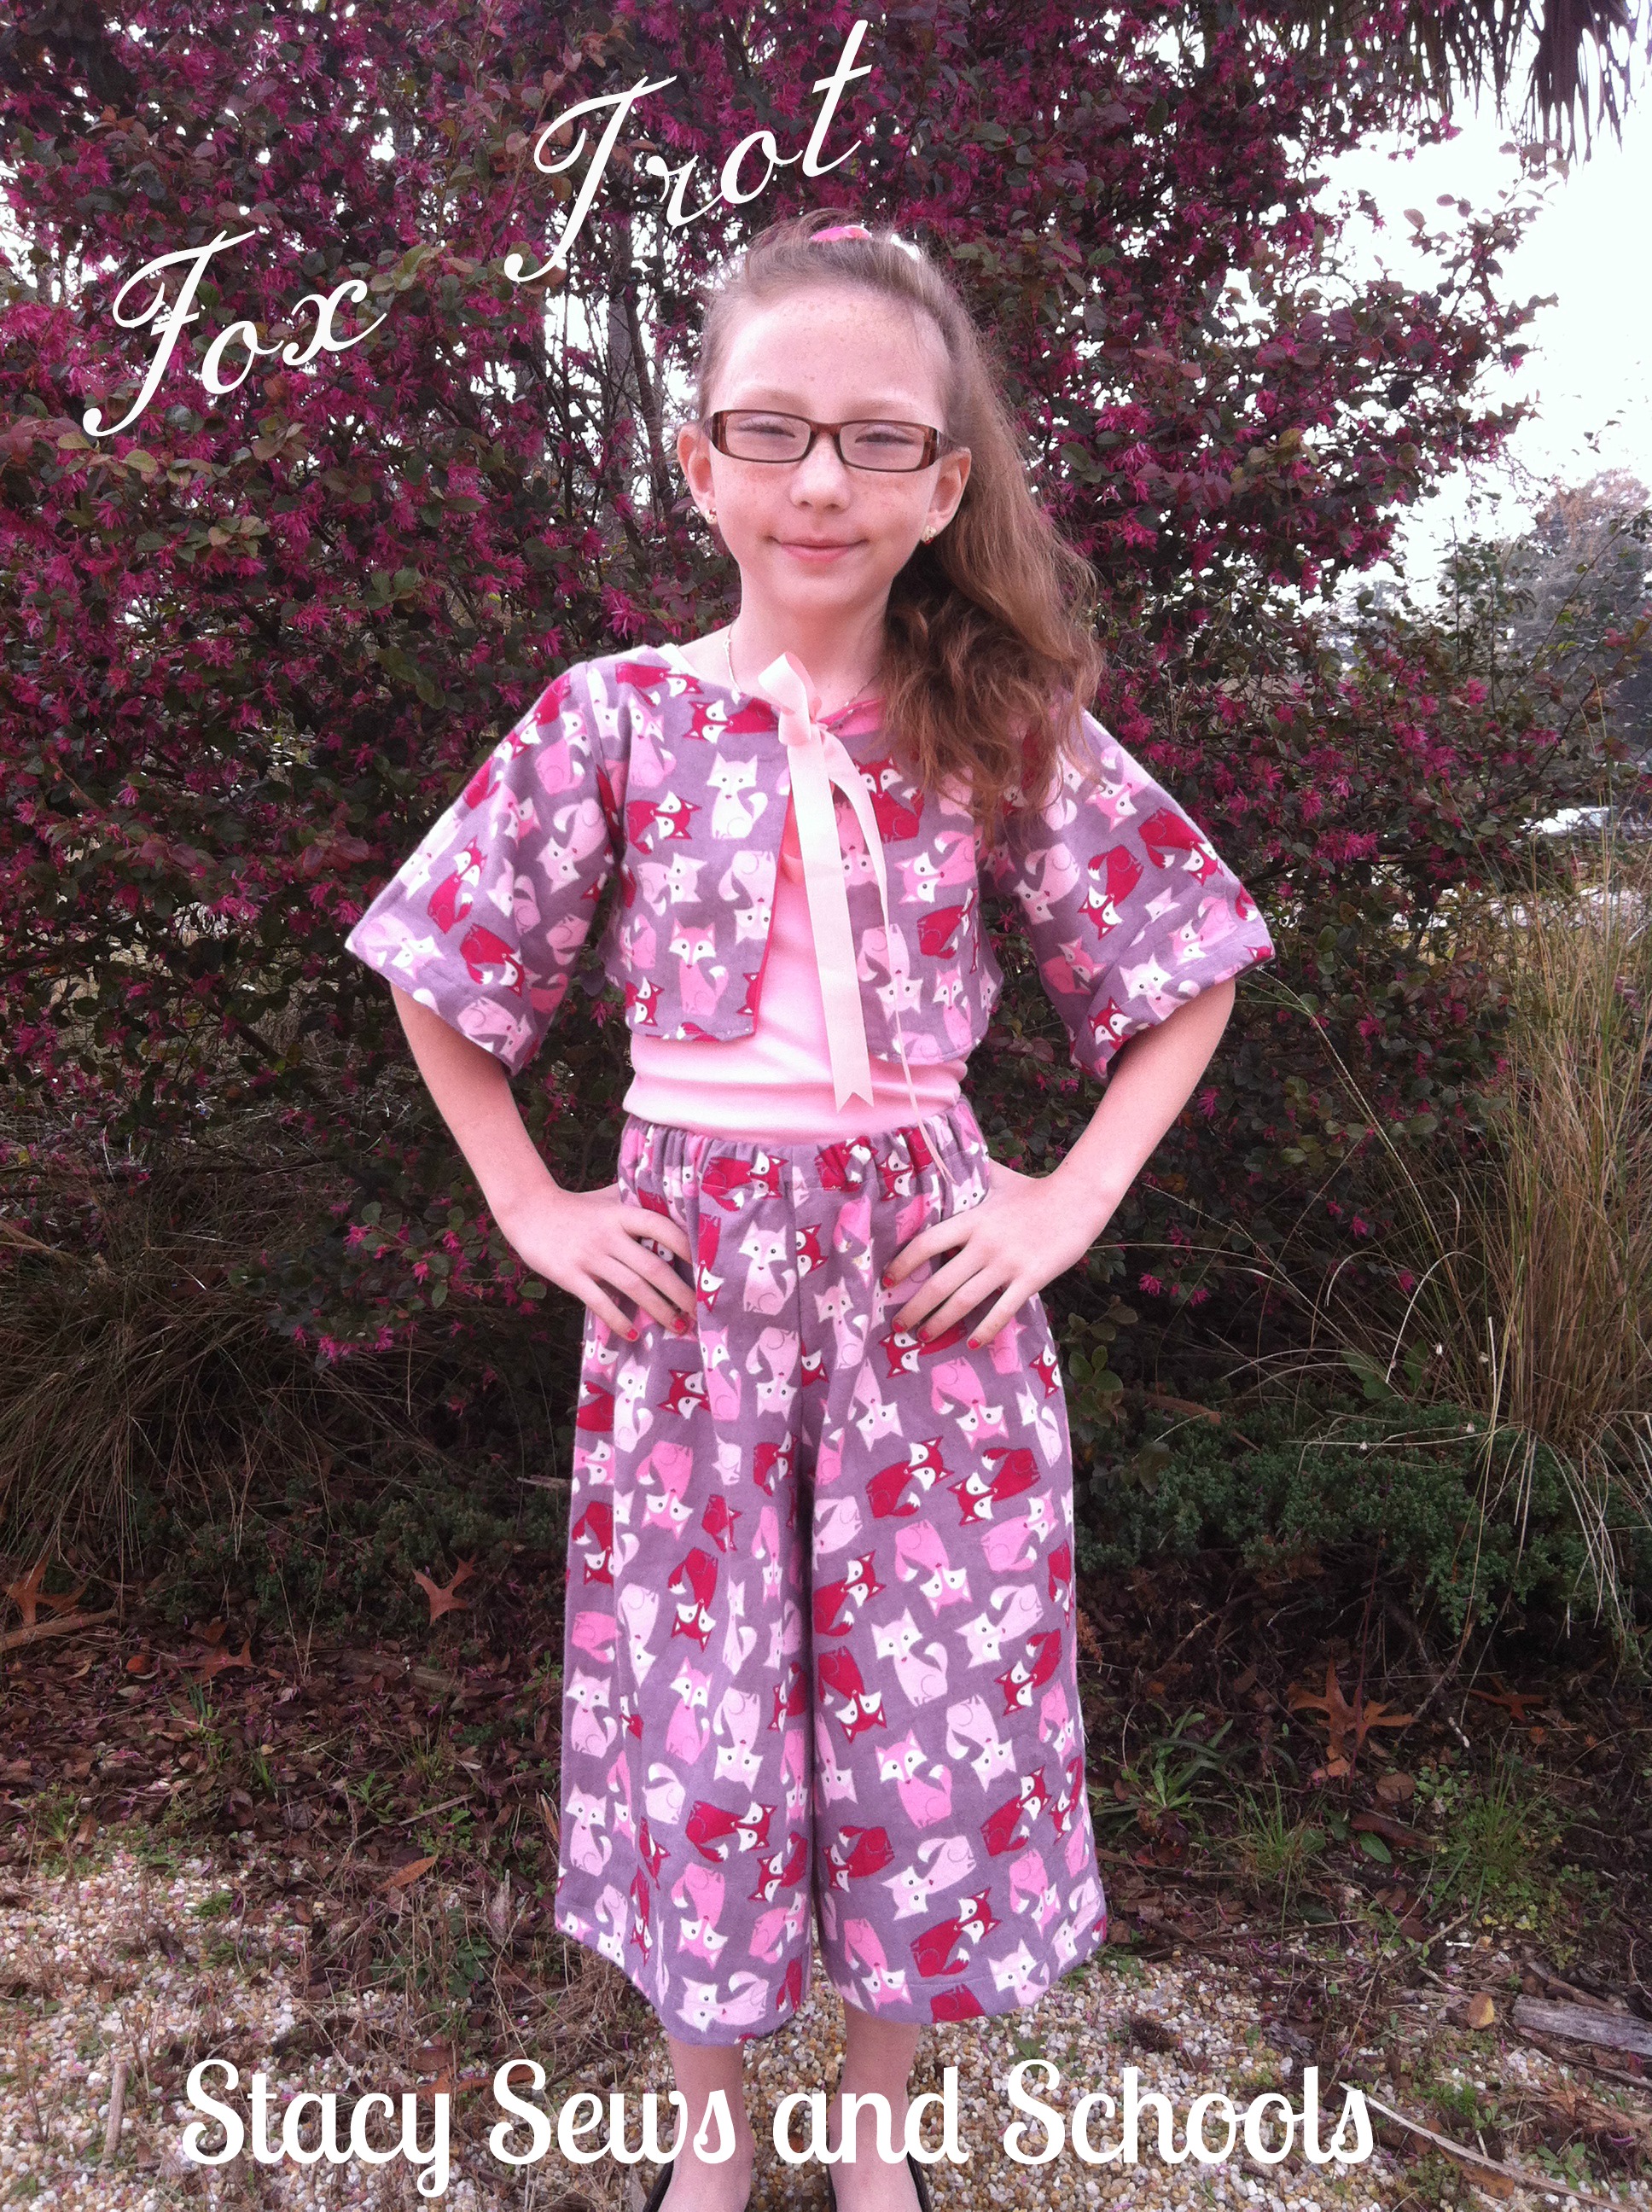


Flannel! It’s not just for PJs. LOL
I had soooooo much fun with this outfit!! I really pushed myself, I think. I drafted my first pattern for the bolero. YAY!!!! I wanted to be sure I got it juuuuust right. 😉
The tutorial for this outfit will be in 2 parts. The first part will be the gauchos and the tank. Tomorrow I will be posting the bolero.
What I Used for the Gauchos and Tank
1 yard of fox flannel
1/4 yard of pink knit
1″ wide elastic
Step 1 –

First I took a pair of pants that fit Cailey well and used them to cut the waist and crotch. Then instead of continuing down straight from that curve I took it way out. WAY out!!! LOL
These are basically like any other pants that I make except in leg length and leg width.
Step 2 –

Pin and sew up the inseam. Go to where the curve of the crotch starts and stop.
Step 3 –

Turn one leg right side out and slide into the other leg. Pin and sew the seam in one continuous stretch.
Step 4 –

Turn the gauchos inside out. Turn over and press 3/4 ” and then 1 “, press and pin.
Now, sew the elastic casing making sure to leave a space to insert the elastic. 😉
Step 5-

Measure the elastic to your child’s waist and subtract 1″. Then safety pin the ends of the elastic and either pin one end to yourself or hold tightly. Insert the elastic into the opening!
They also make really cool elastic threaders but safety pins work just as well. 😉
Step 6 –
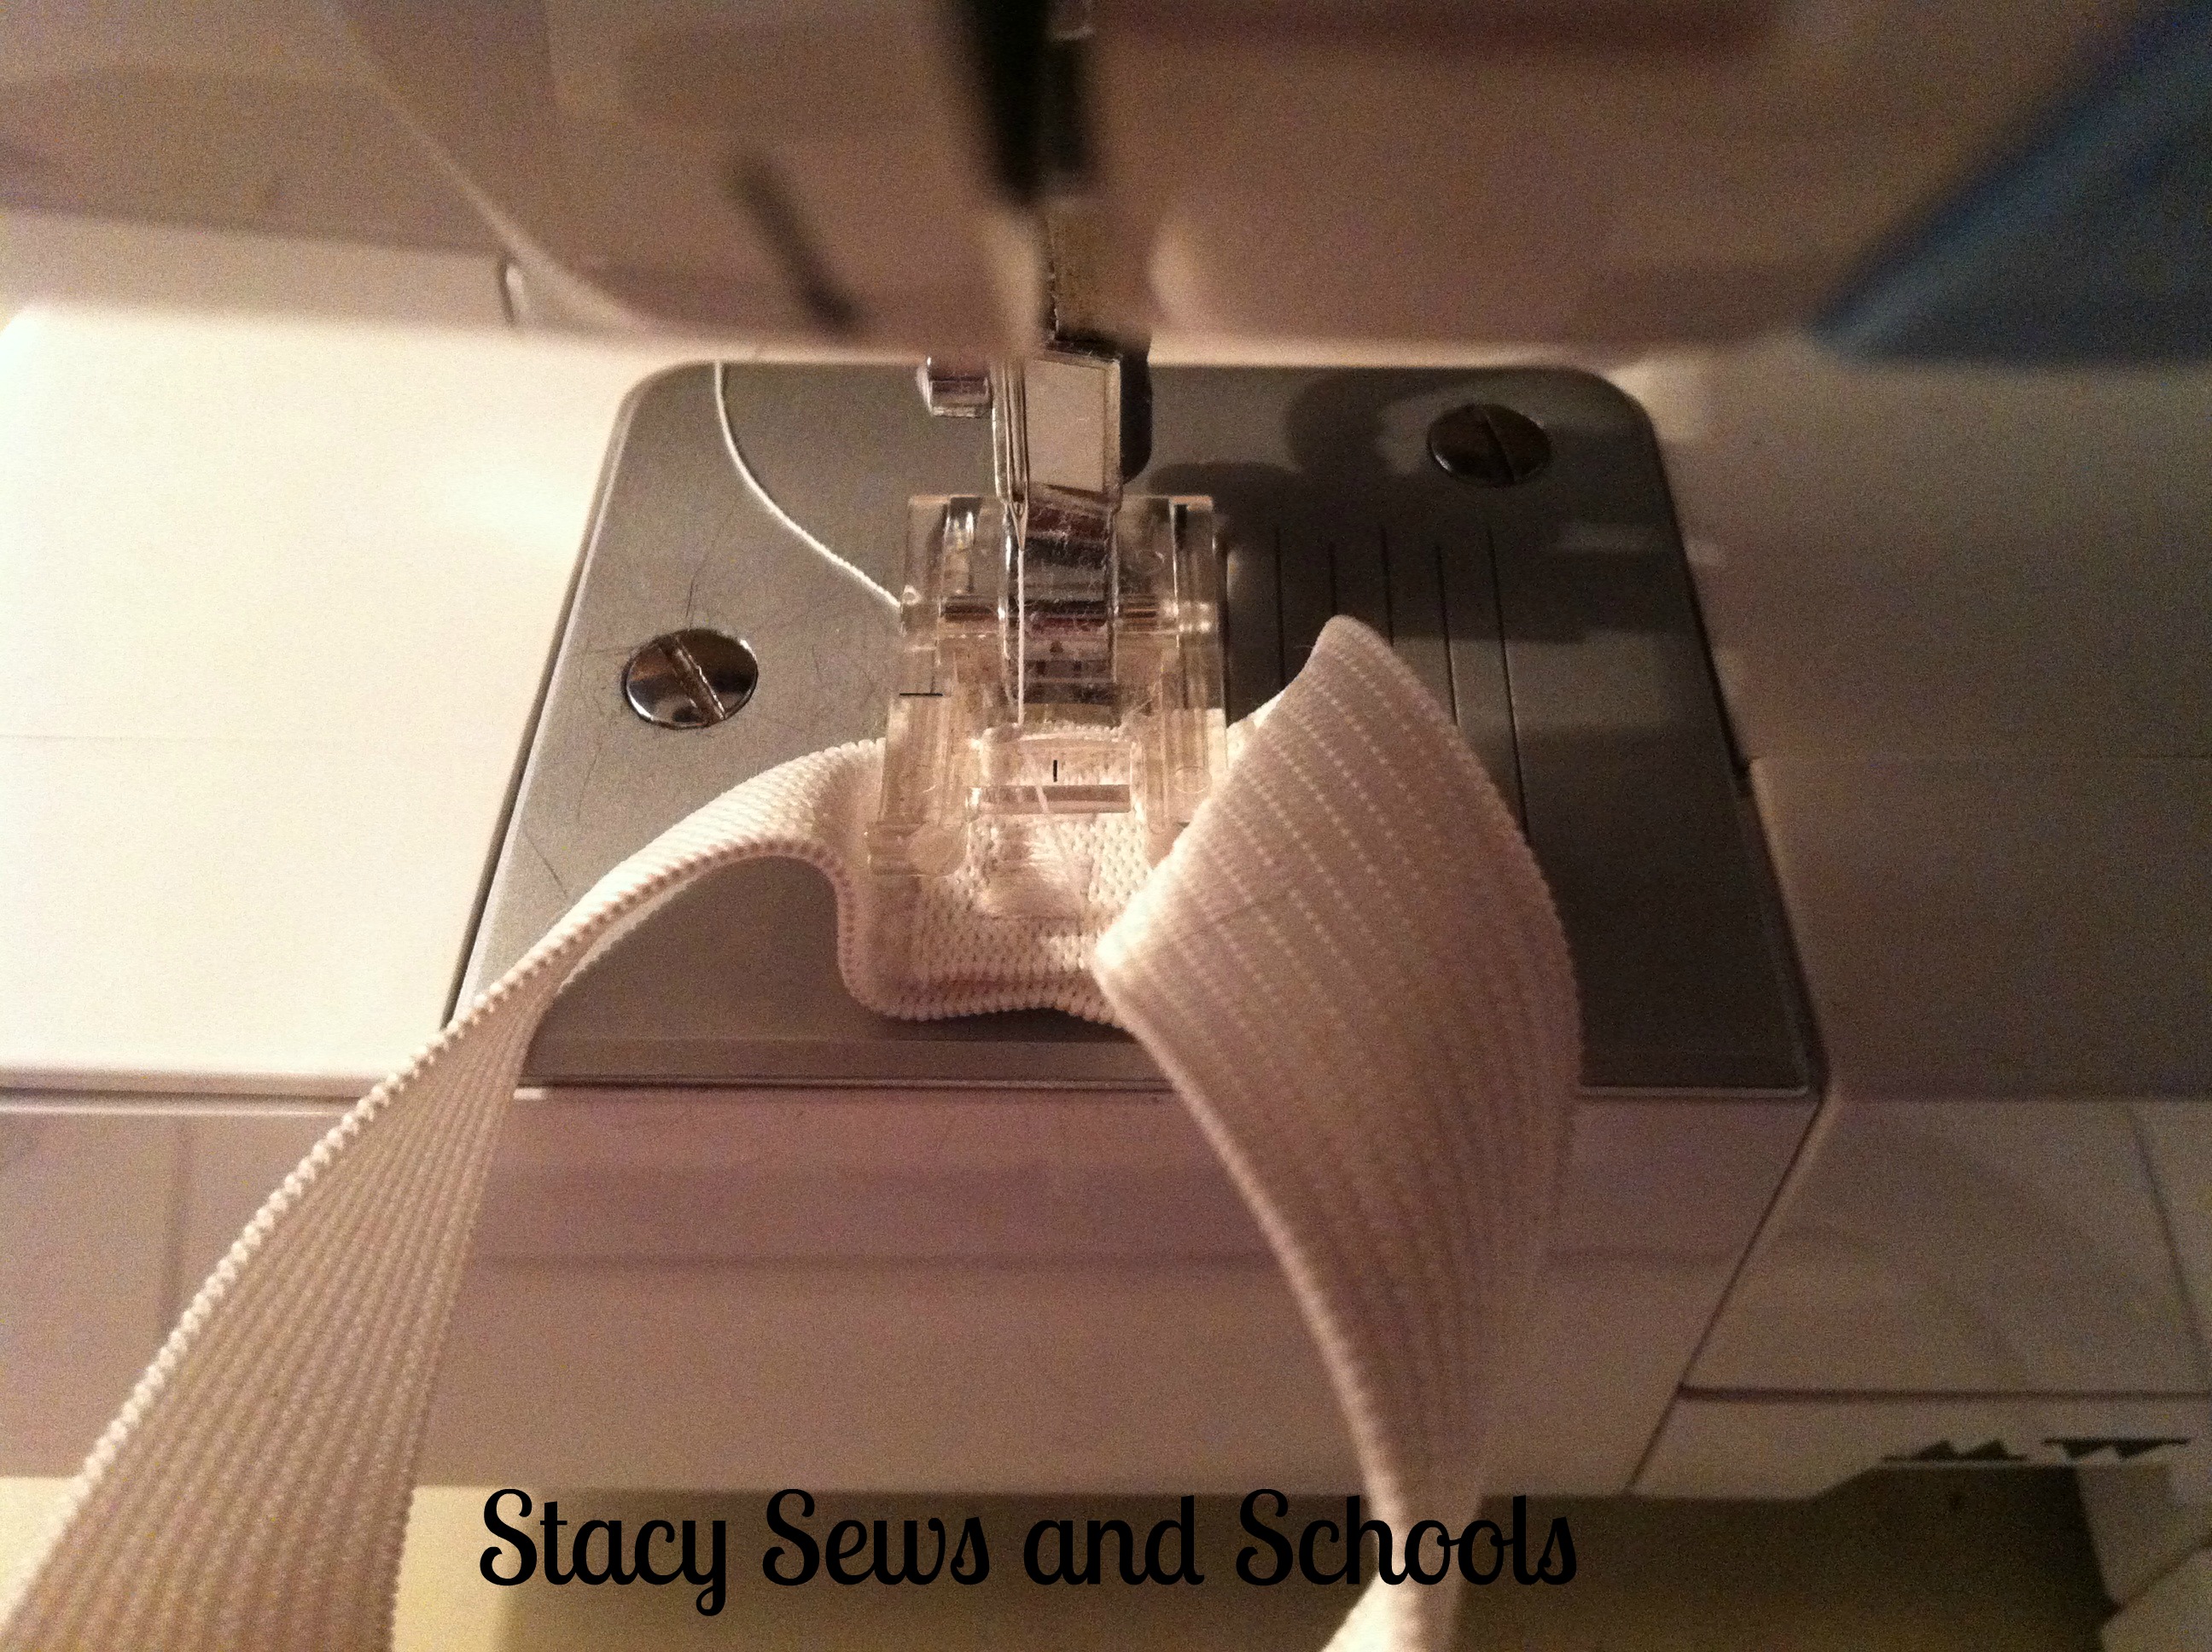
Now, sew the ends of the elastic together using a zigzag stitch.
Then sew the elastic casing closed!
Step 7-

Take a moment and get your cat out of the cabinets!!!! Good grief!!!
Step 8-

Fold over and press the bottom of the legs by 1/2″. Fold up another 3/4″, press and pin. Now sew the hem! 🙂
Press your hem and you are all done!

Now on to the tank!!

Step 1 –

Using a top that fits your child well, cut the arm holes, sides and length, while on the fold.
Then use the piece you just cut as a guide for the other side of the tank.
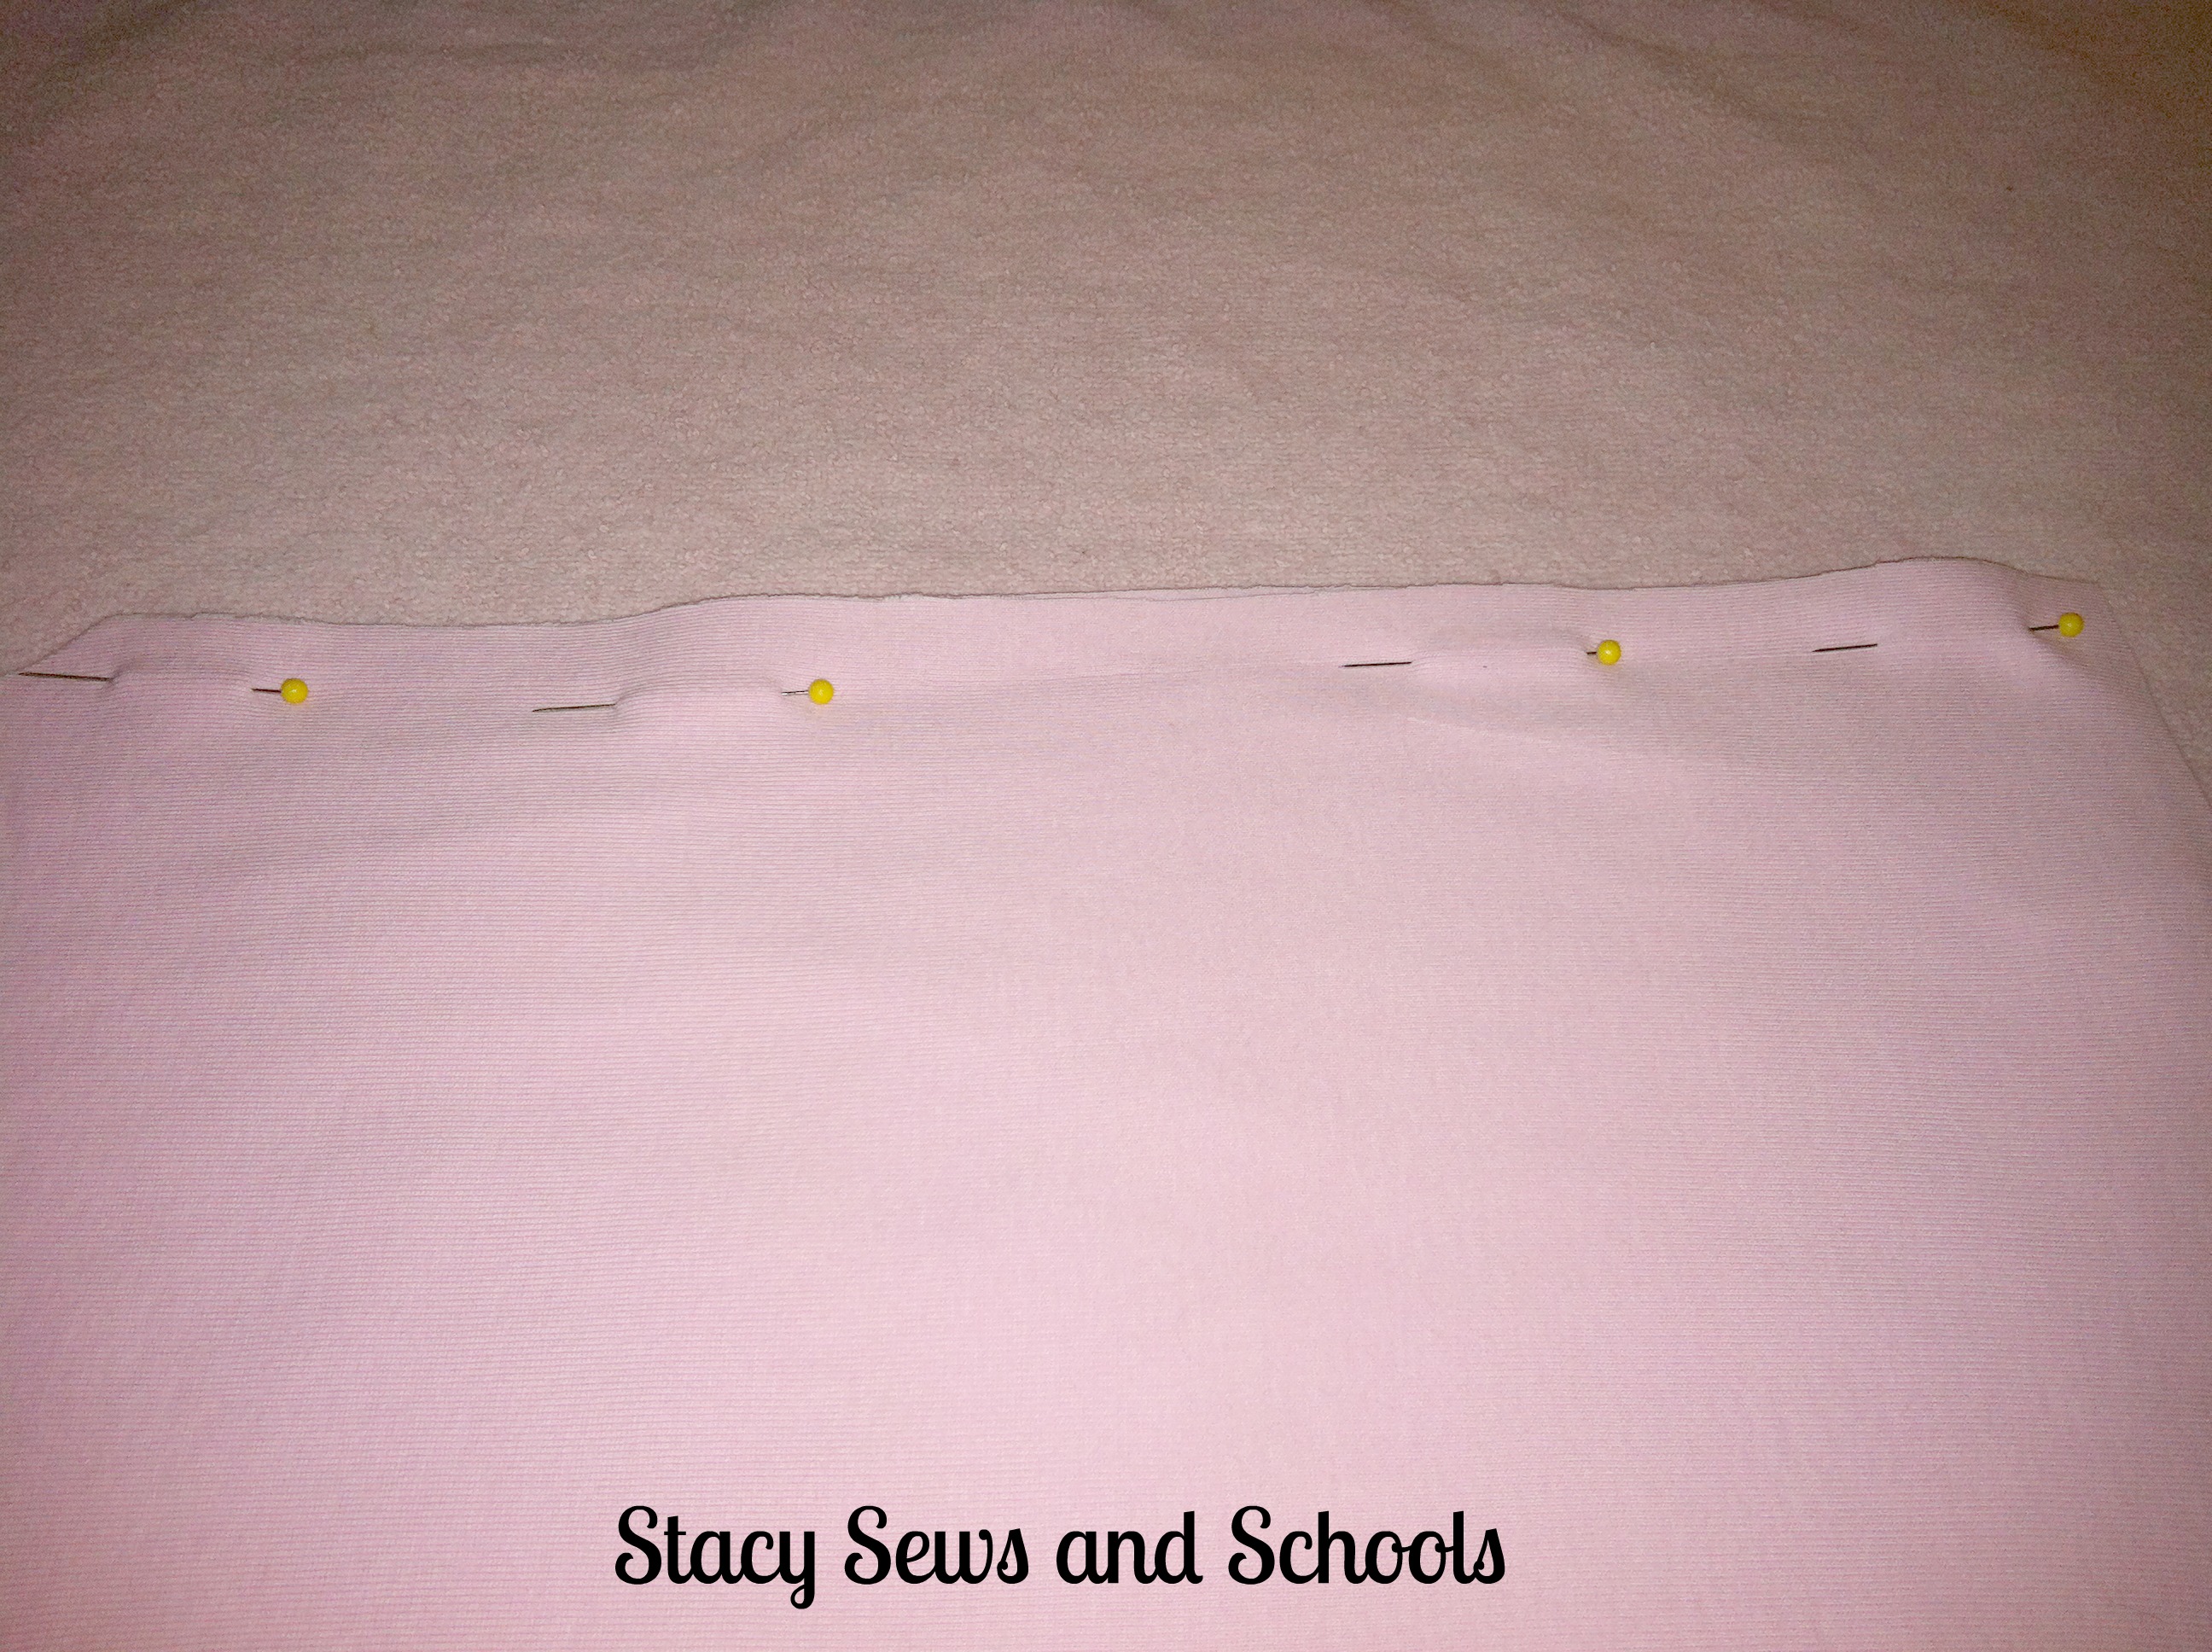
Step 2 –
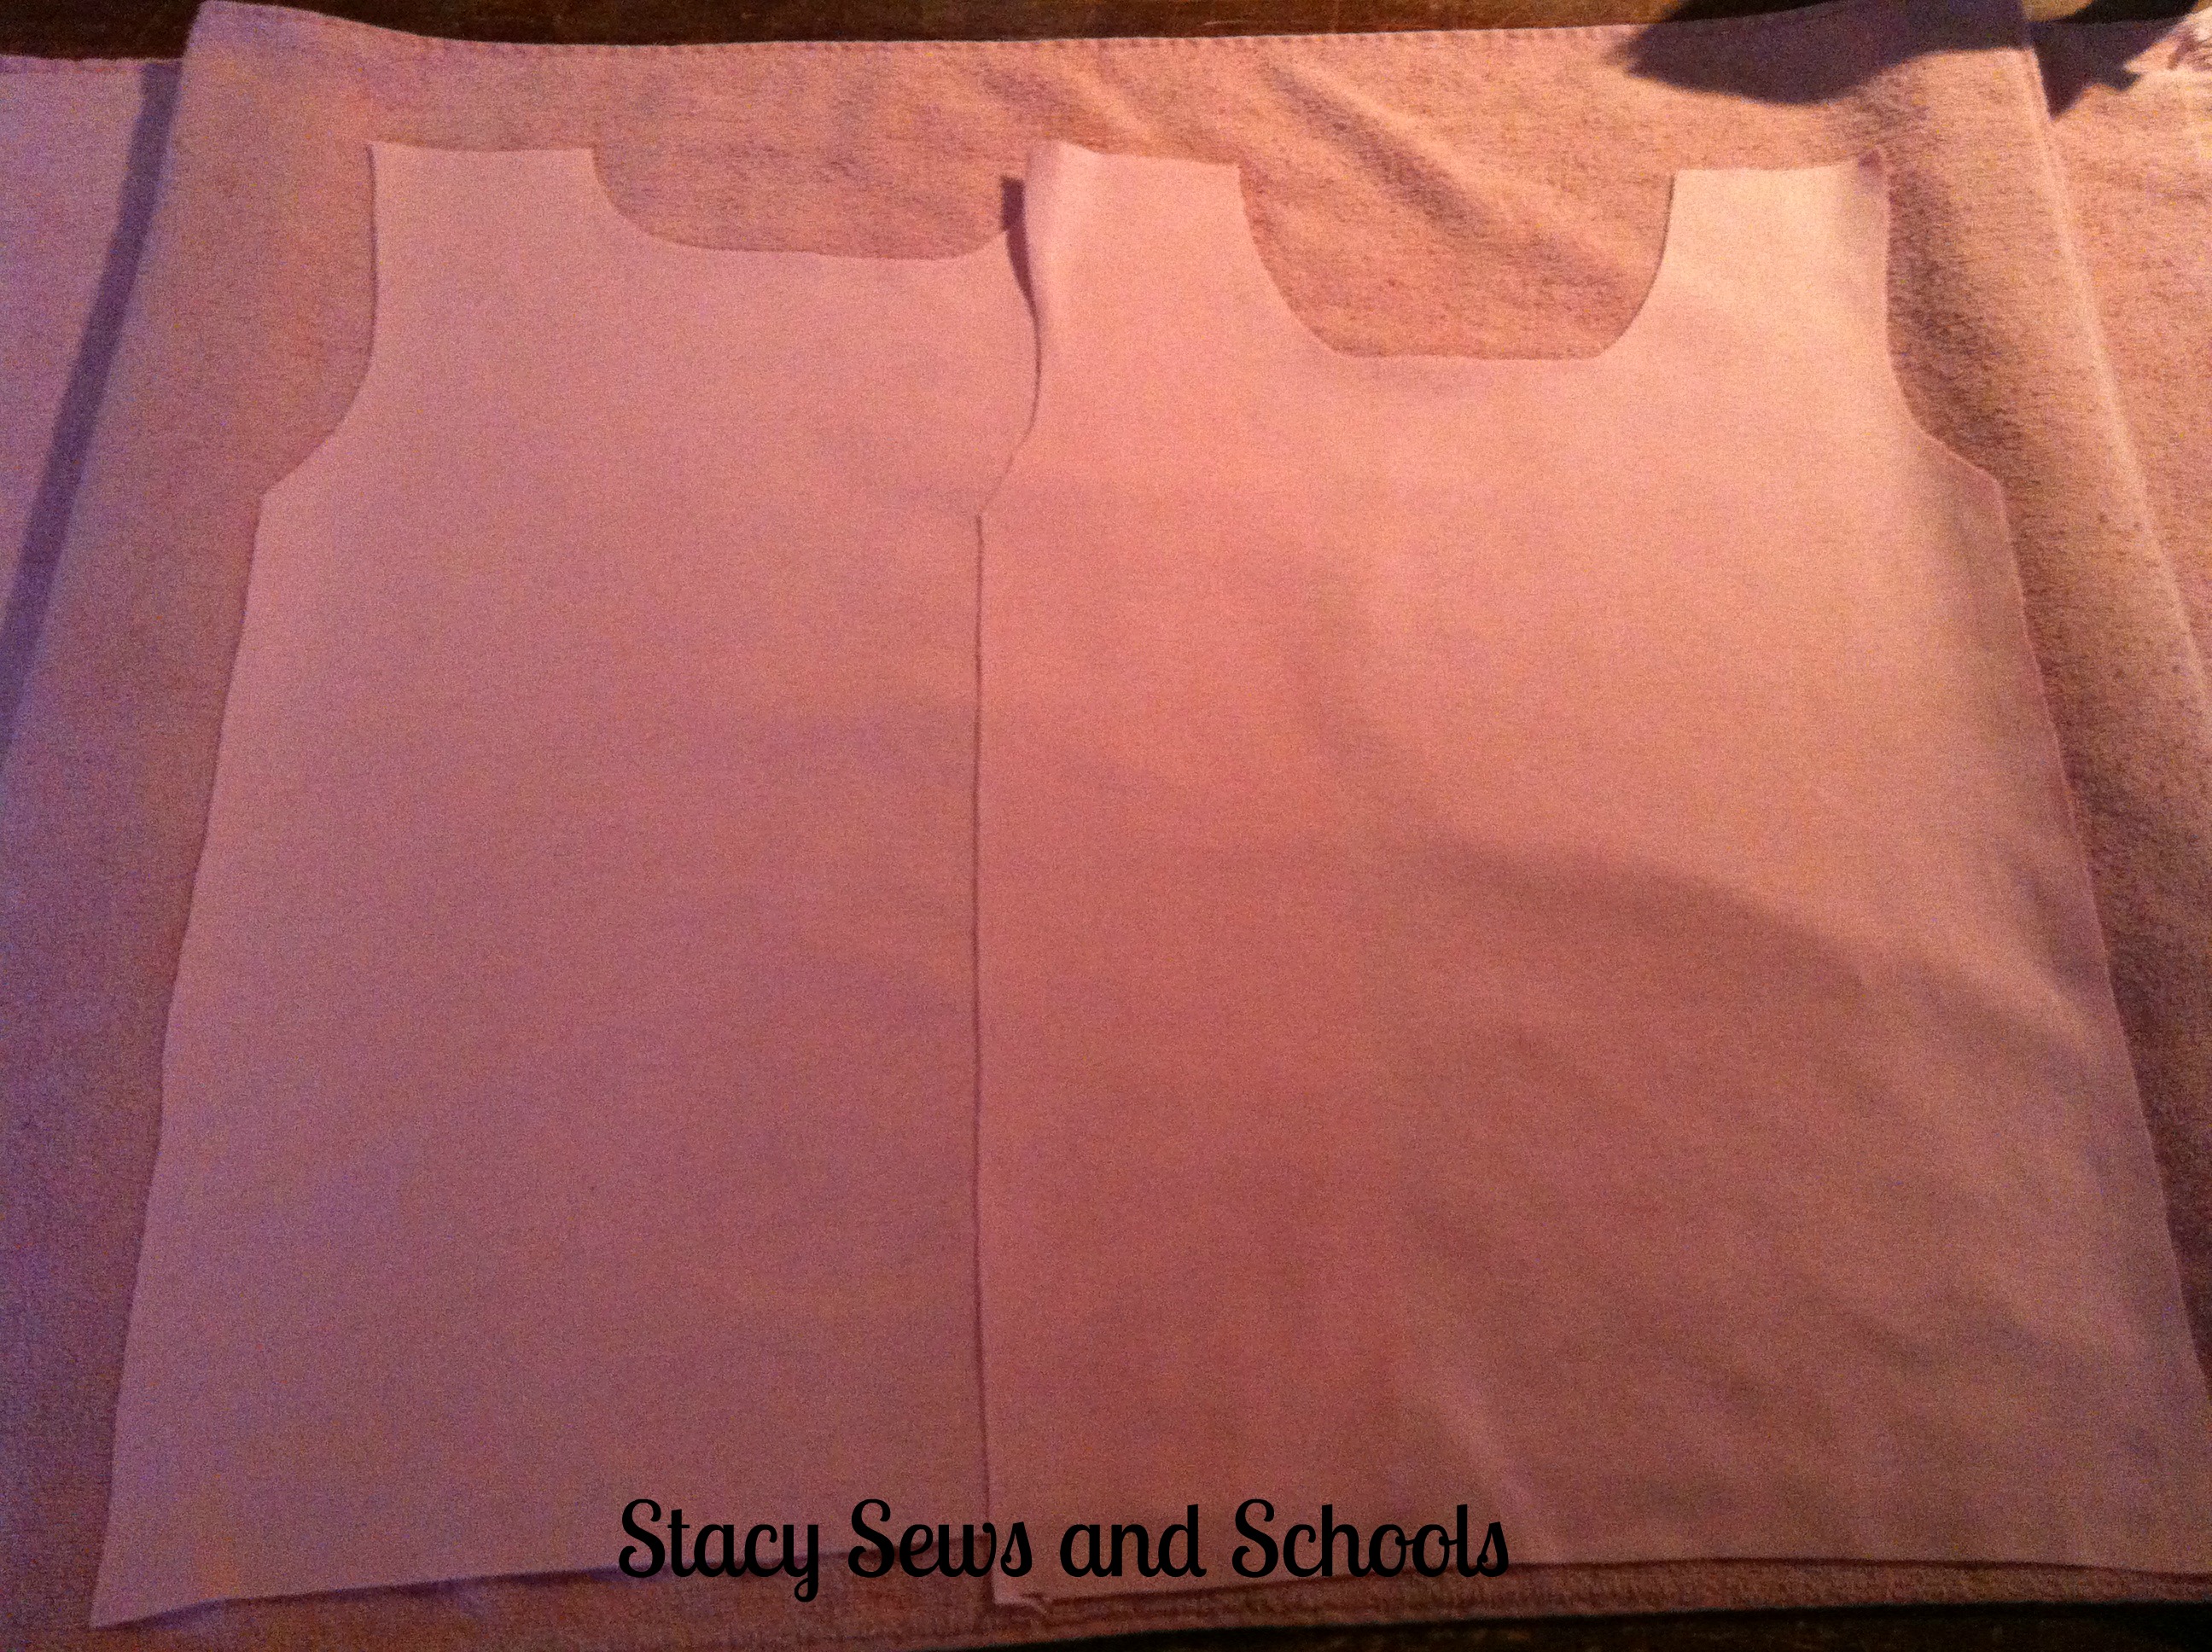
Next, cut in the neck lines. You can make the shoulders as narrow or as wide as you like.
Step 3-

Pin and sew the shoulders together. If using a print make sure right sides are together.
Step 4 –
Pin and sew up the side seams!
Turn right side out and press. Now you are done!!
You can finish the neck and arms and hem the bottom if you like but I always prefer the natural look of unfinished knits. They get that soft curl after a couple of washings. 😉
Let me know what you think!! And PLEASE, if you try this out let me know!!
If you have any questions feel free to use the Contact Me button at the top of the page. 🙂


